
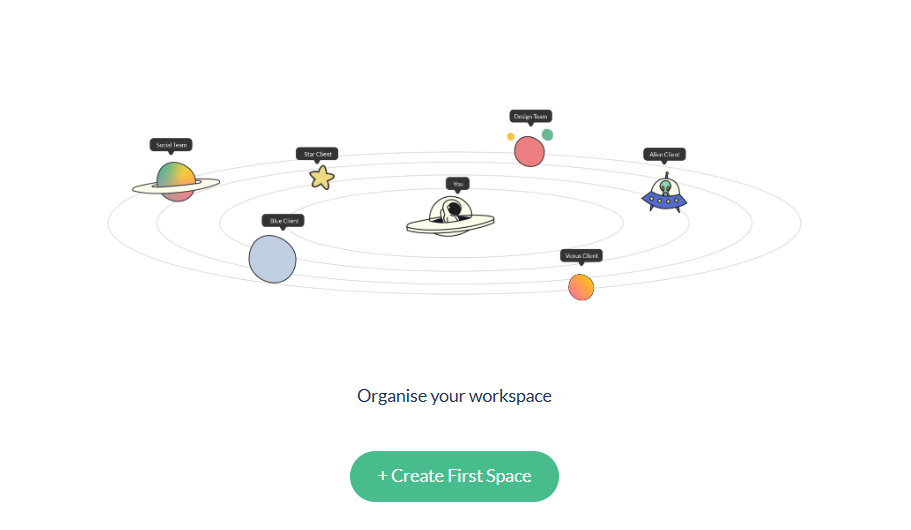
Spaces in Buttonshift help you organize your work efficiently by grouping projects, tasks, and resources. You can create Spaces for each client, team, or department based on your needs. This guide will walk you through setting up and managing Spaces effectively.
Go to the Spaces section:
- Navigate to the spaces section in your Workspace.
- Click on the “Create first space” and start setting up.
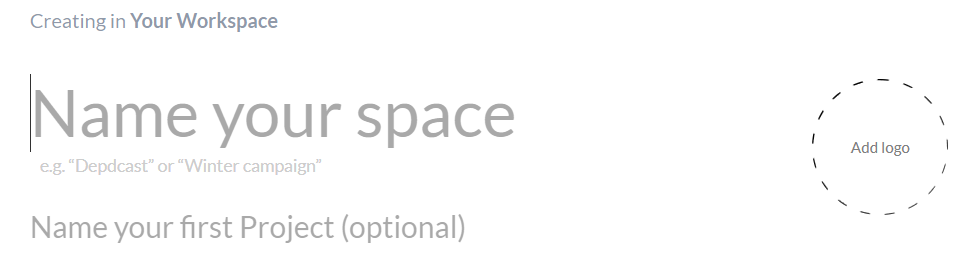
- Name your space and add a logo:
- Choose a name that best represents your client, team, or project.
- Upload a logo to personalize the Space and make it visually distinct.
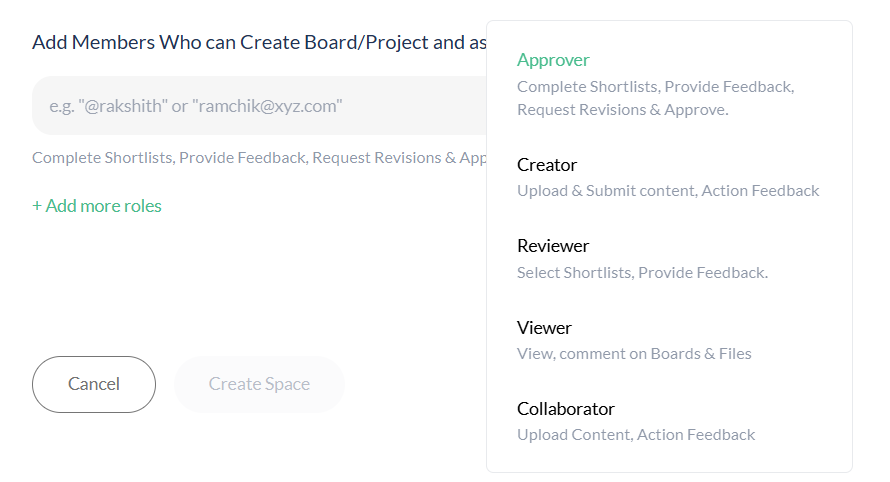
3. Add members to the space:
- Select from existing workspace members who should have access to this Space.
- If you need to invite new users, enter their email addresses to send an invitation.
4. Assign default rights:
- Set default permissions for members regarding content created within the space.
- Define access levels for files, boards, and other elements.
Visited 21 times, 1 visit(s) today
Was this article helpful?
YesNo
Last modified: August 29, 2025
